HitKeep as an alternative to Google Analytics
Google Analytics has long been the de-facto standard for tracking website visits and, to be fair, works extremely well and integrates nicely with the Google Search Console. However, from a privacy perspective, you might want to look for EU-based or even self-hosted alternatives. Luckily, there are a lot of (at least partly) open-source choices, including Plausible, Pirsch, Umami, Matomo, and the list goes on.
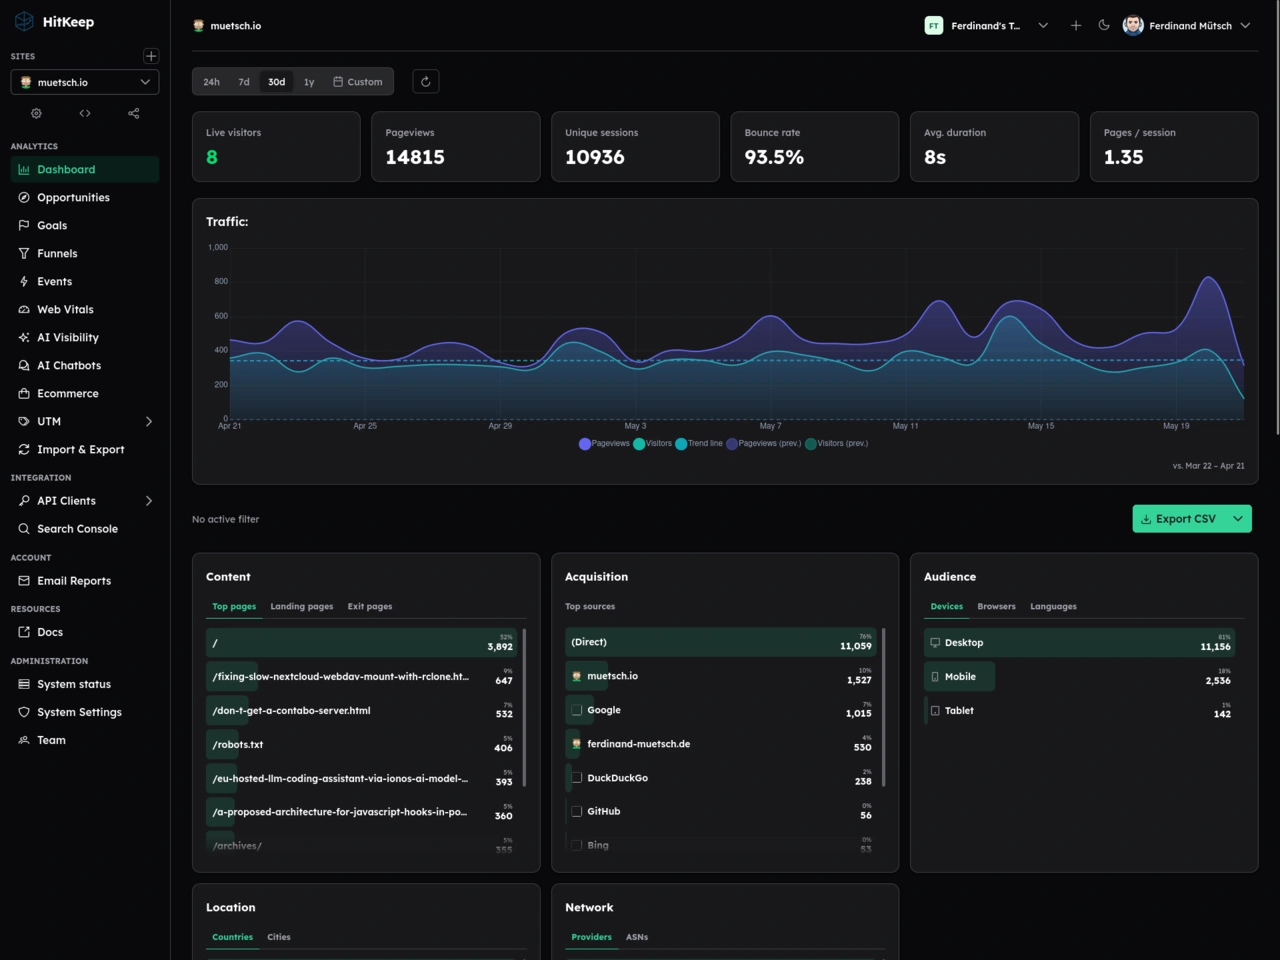
A new star in the world of website analytics tools that I thought looked particularly interesting is HitKeep (GitHub). It’s MIT-licensed, written in Go, runs as a single binary and comes either as self-hosted or with cloud hosting in either the EU or the US. In fact, after some initial testing, HitKeep’s simplicity and great UX convinced me so switch from my former self-hosted Plausible instance.
Self-hosted HitKeep + Caddy setup
Since I’m a big fan of keeping sovereignity over my data, I opted for self-hosting HitKeep, which turned out to be as easy as pie. In fact, it’s as simple as a simple docker run:
1 | docker volume create hitkeep-data |
Check their docs for additional installation instructions and configuration options (like Google Search Console integration, SMTP / email setting, a self-hosted LLM for AI features, etc.).
Server-side tracking
Generally, there are two different “paradigms” of tracking website visitors – client-side and server-side tracking. Client-side tracking is the easy and straightforward way and works pretty much equally across all those tools. When a user visits your website, a small script is fetched that retrieves browser- and device information, etc. and sends a tracking event to the (HitKeep) server instance (unless you have Do Not Track (DNT) configured, of course).
The big downside of this approach is the fact that ad-blockers can easily block those events. Therefore, if you’re in control of the webserver serving the to-be-tracked website, server-side tracking might be the better option. In that case, your webserver is the one to send events, fully transparent to the user’s browser (of course make sure to mention the use of tracking tools in your privacy policy nevertheless!). While this can’t be blocked (tracking tools should adhere to DNT though), it comes with the drawback that less detailed information can be captured. The webserver only sees what’s anyways included in the HTTP request, but no additional information that the client-side tracking script would otherwise retrieve via the browser’s JavaScript APIs (e.g. screen resolution or such).
I still decided to go for server-side tracking, though. I’m using Caddy as my webserver (and reverse proxy) of choice, so I needed a way to instruct Caddy to talk to HitKeep. This is what I wrote caddy-hitkeep-plugin for. It can either be compiled into your custom Caddy binary using xcaddy or you can download a pre-built binary with the plugin included directly from Caddy’s website.
1 | xcaddy build v2.11.3 --with github.com/muety/caddy-hitkeep-plugin@v0.1.0 |
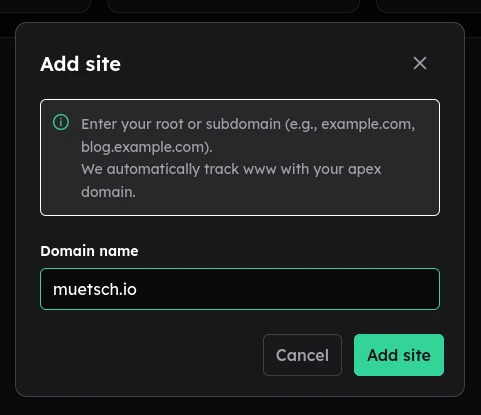
Create a new site
Next up, you’ll have to log into HitKeep, create a new page.
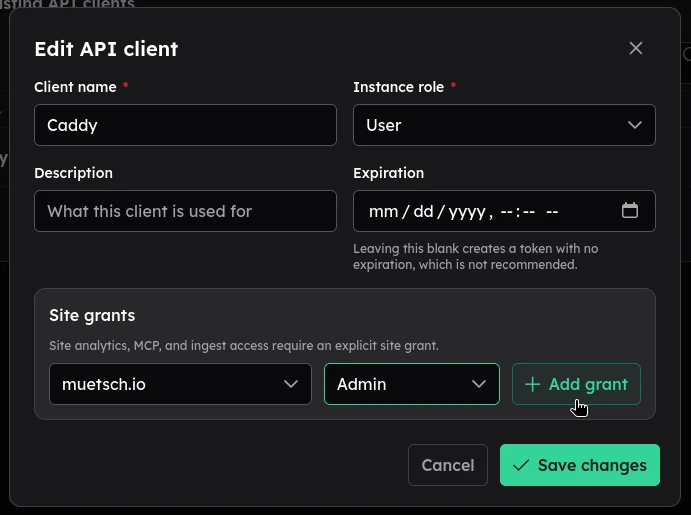
In addition, you’ll need to create a new API client with Admin privileges for that page. The latter wil give you the API key used in the config below.
Caddy setup
Last thing missing is to configure Caddy. Here’s an example Caddyfile for tracking the (static) muetsch.io website:
1 | # Caddyfile |
This will track everything except requests for static assets like pictures, JS- and CSS files, fonts, etc.
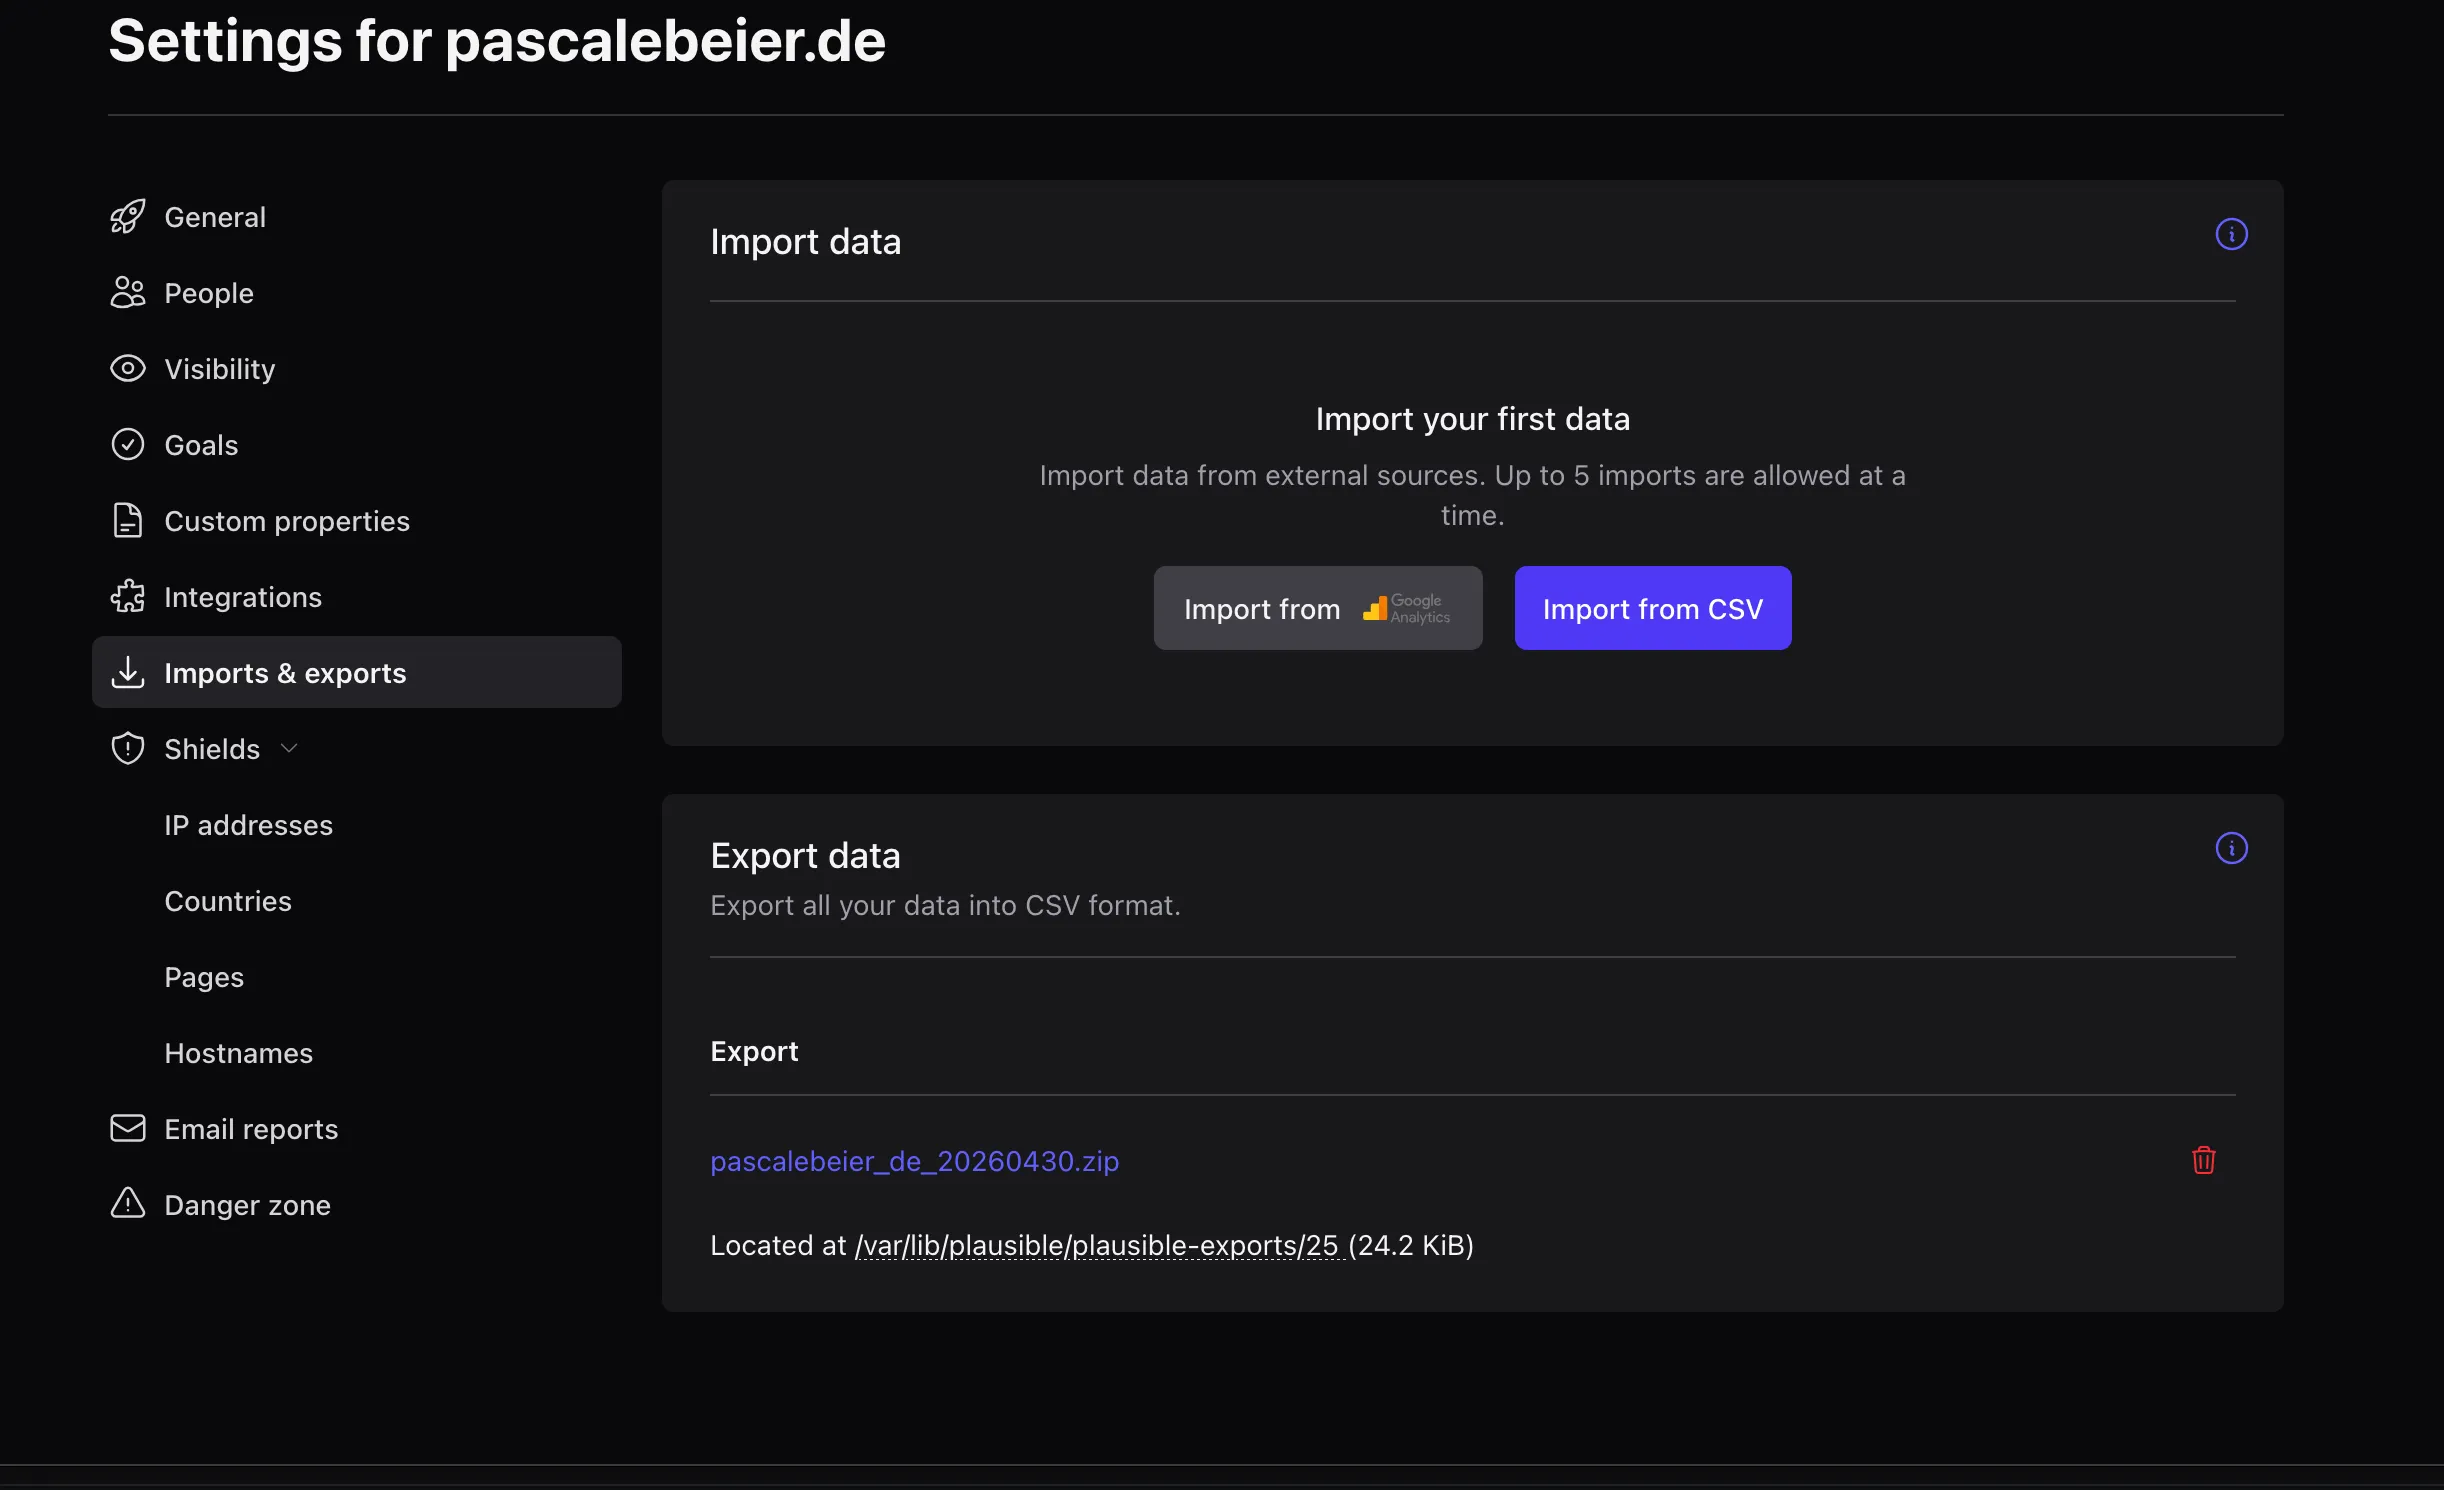
Optional: Data import
Optionally, if you’re switching from Plausible, HitKeep even comes with a super convenient Plausible importer.
All done
That’s all! You’re good to go. New website visits shall now start appearing live on your HitKeep dashboard.
At this point, I quickly want to drop a massive thank you to the author and maintainer of HitKeep for coming up with such an amazing tool!
Comments